In the age of video streaming services such as Netflix, YouTube and Hulu (to name a few), it’s no wonder that online video is incredibly accessible these days and has an inherent ability to capture users’ attention.
When it comes to harnessing the power of online video in order to promote your brand, the sky may be the limit; the possibilities, however, and where to start can be a bit daunting. While creating a video-piece for your property can be a fun project, there are common challenges that come with creating this easy-to-consume content-type.
During the planning, producing and editing of the video piece, you want to ensure that it attracts, captivates and converts (whatever you deem as a conversion, be it new-hire app submission, garner higher web-traffic from future residents, etc.). In this post, we’ll share some important items to keep in mind when preparing your video content while also giving you some ideas to create engaging content of your own.
Here’s a breakdown of 3 surefire ways to improve your property’s brand (both online and off, utilizing video).
- Storyboard Your Video
Whether your video is a culture-related video aimed at hiring, sharing a day-in-the-life story of a resident, exhibiting neighborhood hotspots and nearby attractions, or simply showcasing a beautiful property with breath-taking amenities, you will need to map out the video by way of traditional storyboarding.
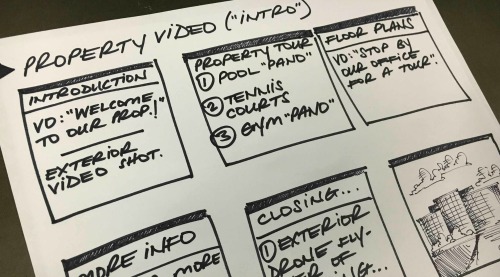
Keep in mind, this does not need to be a Disney-caliber storyboard, however the various scenes and cuts should be noted (written down or drawn out in order) prior to shooting any video. For a 2-3 minute video for example, you can easily begin with a sheet of paper, draw 6-10 boxes, then document how this video should flow. This preliminary process will ensure that your videos follow a format and guide your production, however big or small it may be. The example above (very simply) demonstrates a minimalist example of storyboarding. Spending the necessary time on this initial step will ensure your video’s continuity when it comes to the editing process.
- Use Proper Equipment
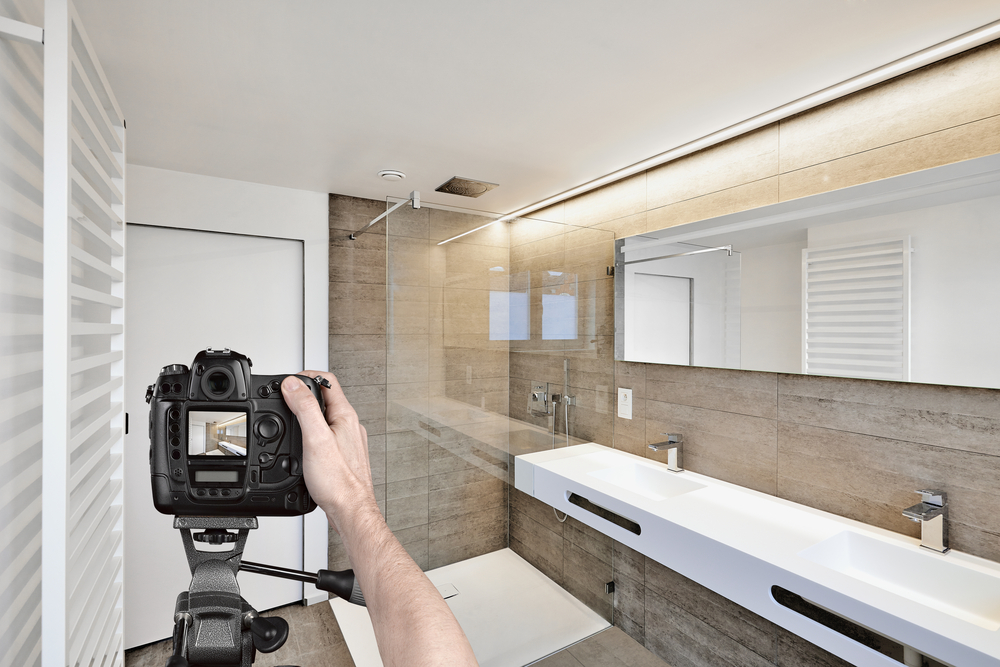
If you are in fact going the DIY route, you do not need to invest in Hollywood studio equipment, however there are a few things to consider. Namely, the quality of your final-cut will be determined by the quality of the equipment you use. To improve video quality, be sure to film in HD; there’s a variety of cost-effective cameras available on the market, including the latest smartphones.
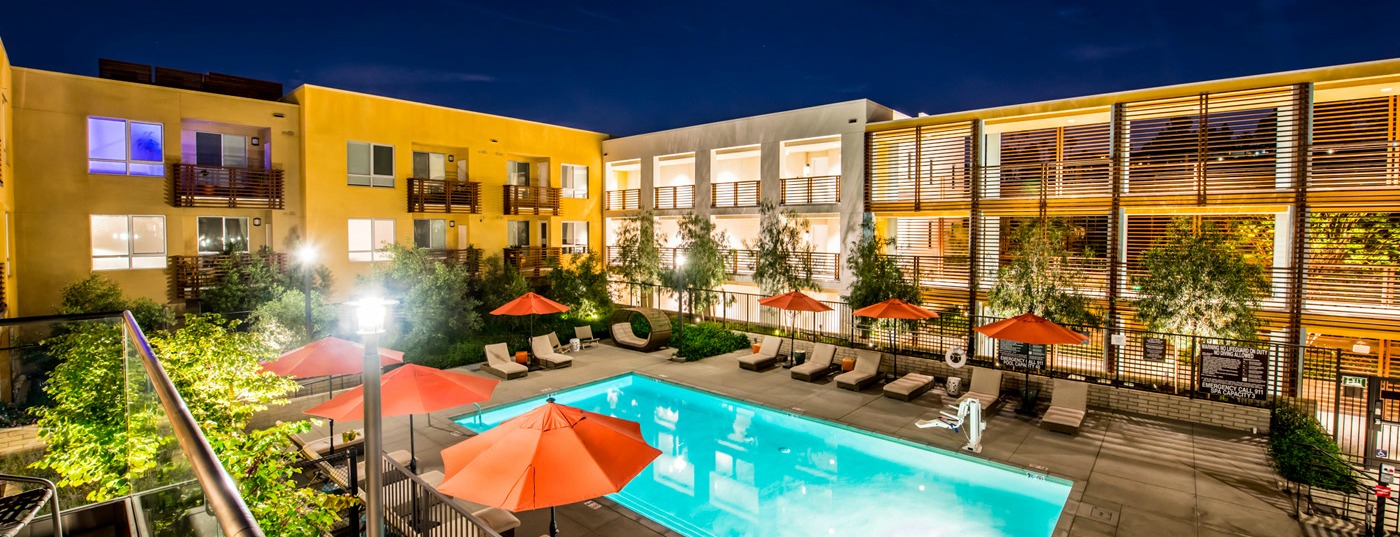
Regardless of which camera you “shoot” with, be sure to use a tripod or mount which ultimately provides stability for your video, and can be great for panning. Panning is a term used for filming a panoramic shot (typically from one side to another) of a given scene, such as a pool area.
Our partners at Capture the Market have illustrated additional equipment options in their post weighing the differences between using Aerial Drones and Jibs. Clearly, drones are an increasingly popular and accessible method for capturing a property’s exterior with compelling angles, however as Capture the Market notes, “the FAA is cracking down on drone use”. They add that “some areas no longer allow drones at all and even those that do, have highly stringent restrictions which can mean higher costs and liability for everyone involved”. The point being, when in doubt, consult a professional.
Lighting is an important thing to consider when filming indoors, so keep in mind that you will need to counteract daylight with artificial (flood) lights to achieve a masterful light-dark balance. This isn’t always the case or necessary, however if you find yourself filming in shadows, you may need to rent a pair of floodlights to give your (raw) video content the professional look they deserve.
Additionally, if you plan to add a voice-over (VO) to your finished video during editing, be sure to invest in a USB-microphone in order to achieve a clean, audio input. There are plenty of microphones on the market for variable price ranges.
- Invest (Time) in Editing
Before uploading your new video content, you will need to edit and optimize for the web. Basic video-editing programs, such as iMovie, work quite well for splicing together individual video clips, and creating a professional and consistent theme. While you may be able to capture some amazing video content, viewers won’t simply sit and watch a property video for an extended length of time. It will be well-worth the time of editing (and then re-editing) your video content down to an easy-to-consume block of time. Utilizing your original storyboard and overall structure of the video, as well as relying on quick-cuts (breaks between shots) will be paramount as you whittle the video down to a 2-3 minute maximum length. Doing so will greatly increase the potential actions your viewers will take following the video.
That’s all for this post and good luck filming your next video!
Lights.
Camera.
Action!
This post was inspired by our friends at Capture the Market, our “Partner of the Month” in May, and if you’re looking to bring your video content to the next level, we highly recommend reaching out to them.